
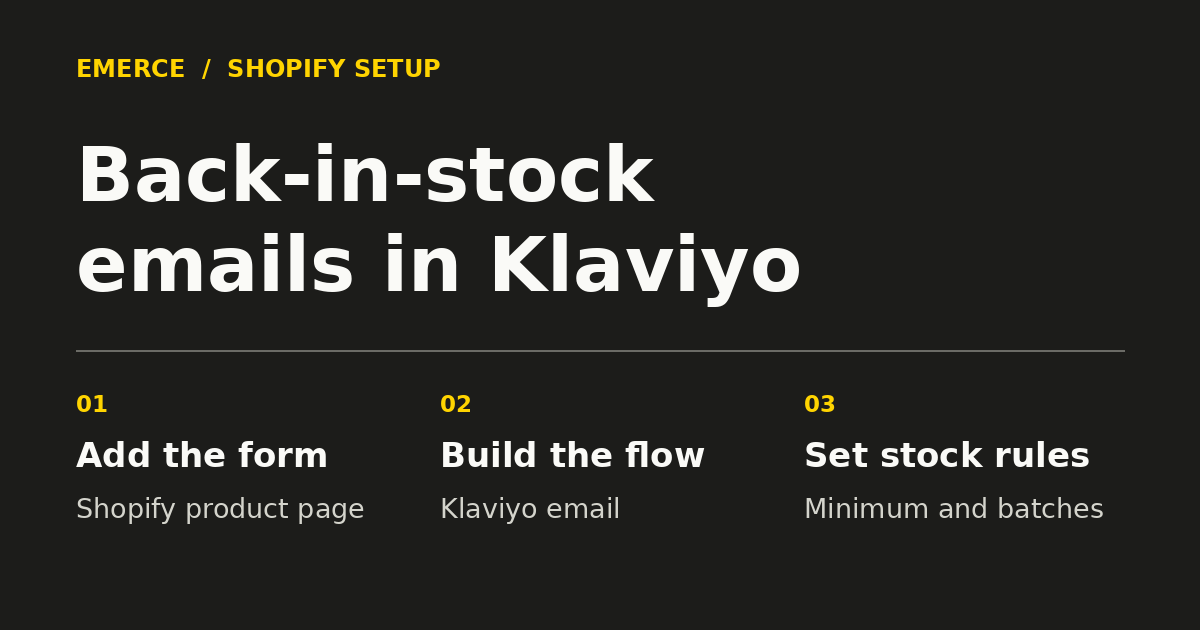
When someone wants the blue jacket in medium and it’s sold out, give them a Notify me button on that product page. Their signup starts a Klaviyo flow for that exact size and color. Klaviyo waits until Shopify reports enough stock, then sends the alert automatically. You set the rules once. You don’t have to watch the waitlist or send each batch yourself.
There are two pieces to set up: the form that takes the request and the flow that sends the email. A working button tells you the first part works. It doesn’t tell you anyone will get an email.
1. Connect Shopify and turn on the app embed
First, confirm the Shopify integration is enabled in Klaviyo and connected to the right store. In Shopify, go to Online Store → Themes, open the theme editor for the theme customers actually use, and turn on the Klaviyo toggle under App embeds. Save, then check the embed status in Klaviyo’s Shopify integration. See Klaviyo’s Shopify integration guide if you’re connecting a store from scratch.
Pick a product with both an available and a sold-out variant. Make sure Shopify tracks inventory for the sold-out variant and that Continue selling when out of stock is off for it. Klaviyo’s native restock form doesn’t work with that setting enabled. If you intentionally take backorders, leave that buying experience alone and choose a different product for this setup.
If your theme already has an older Klaviyo restock snippet, check Klaviyo’s migration instructions before switching. Remove the old restock snippet when you move to the form editor so two buttons don’t show up. Leave the app embed on.
2. Build the restock email flow
In Klaviyo, go to Flows → Create flow and find the Back in Stock template. If you already have a flow for these requests, inspect that one first. You don’t need another just because you’re updating the form.
The email version has three parts:
- Subscribed to Back in Stock. This is the trigger. It fires when the shopper requests the alert, not when the jacket comes back.
- Back in stock delay. This holds the shopper in the queue for the variant they chose. It’s an inventory check, so you don’t need to add a fixed time delay after signup.
- One email. The email follows the inventory step. Set it to Live for automatic delivery. Manual holds messages for review; Draft won’t add shoppers to the waiting list at that step.
Keep the template’s product details and button connected to the restock event. In the preview, use a real test signup and check the size, color, image and link. The button should take the shopper back to the right variant. If you’re building the email yourself, use Klaviyo’s Shopify variant fields and link example. Keep the copy short: the item they asked about is back, and here’s where to buy it. An alert doesn’t reserve one for them.
Klaviyo recommends turning Smart Sending off for this alert so a recent marketing email doesn’t cause a requested notification to be skipped. I’d keep the flow to one email. Klaviyo’s queue guide notes that the flow can’t recheck stock for a second message after the first goes out.
3. Set when Klaviyo releases the alerts
In the flow, select the Back in stock delay and edit its settings. You can also find them under Settings → Other → Back in stock settings. If that section is missing in a new setup, Klaviyo says it appears after the first restock signup event is recorded.
| Setting | What Klaviyo does |
|---|---|
| Restock minimum | Holds shoppers in the queue until the variant reaches the stock level you set. |
| Notification quantity | Sends to the whole waitlist at once, or uses Advanced options to send in batches. With batches, you set how many waiting shoppers to notify per unit. |
| Notification frequency | Sets the wait between batches. When that wait ends, Klaviyo uses the remaining stock to decide whether to release another batch and how big it should be. |
Say eight jackets come in and 120 people are waiting. If you set the minimum to four, notify one person per unit and wait an hour between batches, Klaviyo releases the first eight spots in the queue. If five units sell before the next check, three remain, so Klaviyo holds the next batch. If enough stock returns later, the queue can move again. That hour and those quantities are an example. Pick settings that make sense for your stock and how fast it sells.
These are account-wide settings, even when you open them inside one flow. Before changing the minimum for a jacket, consider what it would do to products you usually restock one or two at a time. Also check whether the inventory Klaviyo sees matches what customers can actually order online. Klaviyo documents that a Shopify POS setup can include physical-store inventory in the count. See the flow setup and inventory rules.
4. Put the signup form on the Shopify product page
In Klaviyo, go to Sign-up forms → Create form and search for Back in Stock. Pick the dedicated restock template. If you already have a restock form, edit it; Klaviyo allows one per account.
- Open the Product display button step. Choose whether Notify me replaces the sold-out purchase button or sits below it. I’d start below it so shoppers can see why they’re being asked for an email address.
- Customize the email step and confirmation. “Email me when this size is back” makes the promise clear. Keep any optional marketing signup separate from the restock request.
- If you want to start with a small set of products, use Shopify product tags in the form’s targeting settings.
- Once the flow is ready, publish the form in Klaviyo. The app embed lets it appear on matching sold-out variants. You don’t need to place a separate newsletter form on every product page.
5. Test one variant before rolling it out
Use a test product or variant with no real waitlist so a stock change won’t email customers.
- Check the button. Switch between an in-stock size and a sold-out size on the same page. The alert button should appear only for the sold-out size. Do this on your phone too.
- Check the signup. Submit a test address. Find Subscribed to Back in Stock on its Klaviyo profile and confirm the address is waiting at the flow’s inventory step.
- Check the release. Restock the other size first. The test address should still be waiting. Then bring the requested size up to the minimum, allow for the inventory sync, and check the email’s recipient activity. Leaving the waiting step and actually sending the email are two different things.
- Check the link. Open the email on your phone. The link should take you back to the variant you requested, with the correct size and color selected.
If the button is missing, start with the active theme’s app embed, the form’s publish status, the selected variant’s stock and its targeting tags. If the button works but the email doesn’t, start with the signup event, then check whether the address is waiting, whether the stock meets the minimum, and whether the email is Live. That tells you where to look before you rebuild anything.
Get one product working end to end, then expand the form’s targeting. If you’re checking your other automated emails next, here’s what to fix first in Klaviyo flows.